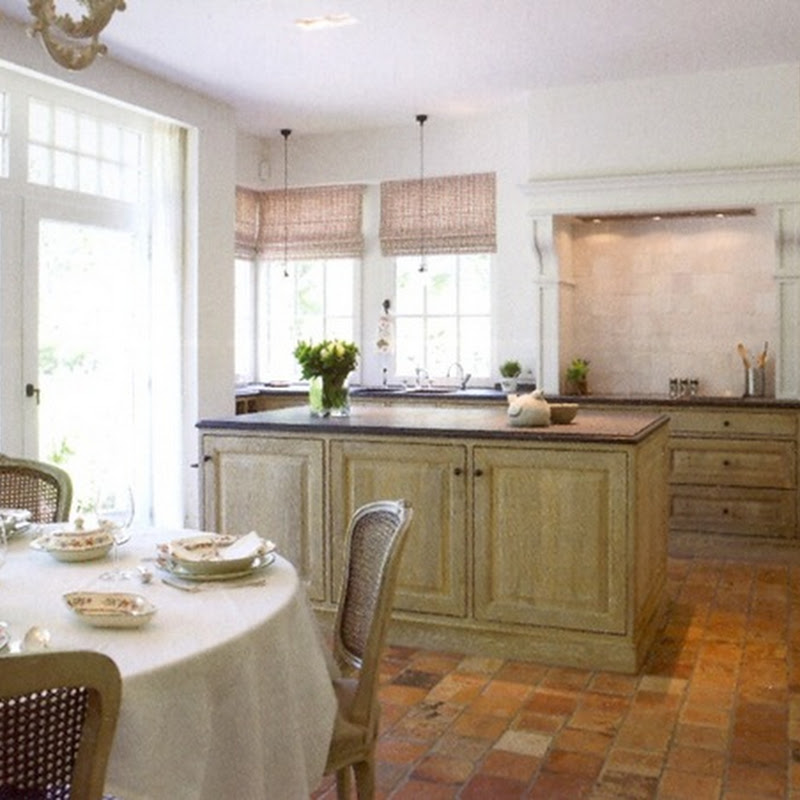
I wanted to break down the step-by-step for you in case you wanted to do something similar in your home. Here's the blank slate I was working with.
For this project, you'll need:
- Paint and paint tray
- Small paintbrush or small roller
- Large roller
- Ruler
- Leveler
- Pencil
- Frog Tape
- Ladder
The first thing I did was paint the entire wall the original paint color, it needed several touch-ups anyway. I bought Sherwin Williams Agreeable Gray, which is the color I thought the wall was, but later realized it's not. Agreeable Gray is slightly more gray than the wall, but just barely. I found this out when comparing the color to the adjacent wall.
First, measure the height of your wall and decide how wide you want your stripes. We have a tall wall, 114 inches (not including the crown). A 16 inch stripe meant 7.125 stripes, just about perfectly even.
Starting at the top, measure and mark in pencil 16 inches down until you reach the bottom. Then, use a leveler to ensure you draw a perfectly straight line.
After drawing your lines in pencil, tape above and below the pencil line to indicate the area you will be painting. To be extra sure I didn't paint the wrong part, I marked an "x" in the area I was NOT supposed to paint. Trust me, when you're that close to the wall, it helps!
I then used a paintbrush/small foam roller in the original paint color all along the edge of the tape to seal it. If any of your paint bleeds through the tape, it's the same color as the adjacent stripe!
I used Frog Tape and ended up using two strips of tape for each line, increasing the thickness of the tape in case I was a sloppy painter.
I only needed two coats of paint for full, even coverage. As soon as I rolled the second coat of paint, I pulled the tape off.
The moment of truth!
Sit back and enjoy your clean, perfectly straight, bold stripes.
I ended up painting the light switches too, and they look good from afar, but not so great close up.
I'm especially digging the view from the dining room.
I hope this helps! If you have any questions, please let me know and I'll answer in the comments section.
* * * * *
P.S. I've really missed my health and fitness blog, Honey We're Healthy, and have started posted again there. I'd love to see you over there.
* * * * *
If you'd like to enter to win a trip for 4 to Universal Studios Hollywood or Universal Orlando Resort, click HERE or the picture below. You can also win a year's supply of Nestlé® Pure Life® Purified Water.
* * * * *


0 comments:
Post a Comment